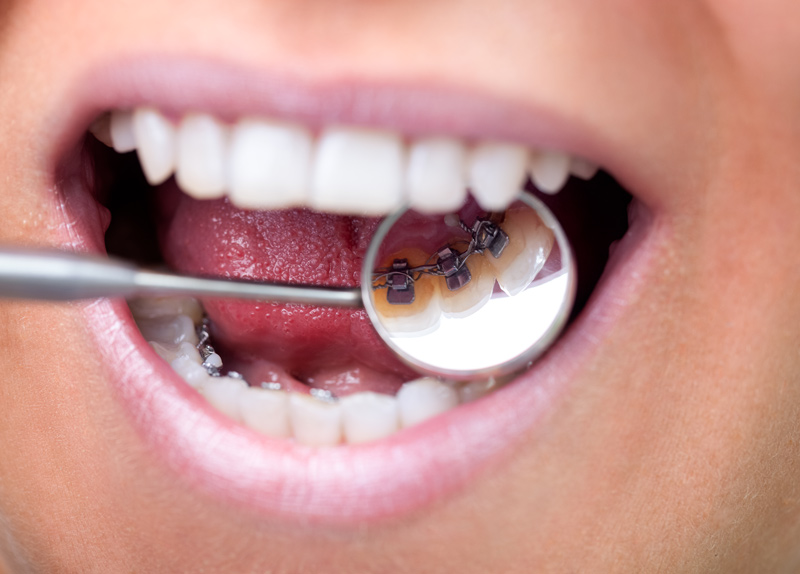
The Veneer Procedure Explained In 3 Basic Stages

A dental veneer is an ultra-thin tooth-colored shell that is fitted on the front side of your tooth to restore its look and improve your appearance. Chipped teeth, cracks, tooth discoloration, uneven spacing or alignment and worn enamel are among the numerous problems that can be solved by veneers.
So what is the veneer procedure like? What should I brace for?
Stage #1 – Enamel Removal
Enamel removal is done to create room for the veneer. The layer of enamel being stripped off your tooth is usually as thick as the shell replacing it.
Stage #2 – Mold Preparation
At the end of the first stage, your orthodontist will take images and impressions of your mouth and use them to make a mold for your mouth. Sometimes the impressions are taken and sent to a separate laboratory for veneer preparation. You may be forced to wait up to four weeks before the shells are sent back to your orthodontist.
Stage #3 – Veneer Placement
The final appointment involves fixing the veneer on your tooth.
Your orthodontist may have to make adjustments on the shell to ensure it fits your tooth correctly. This may mean repeatedly placing and removing it to examine its fit and hue, and trim it accordingly. Your tooth will also be roughened using special tools to prepare it for the veneer.
The special cement is applied to the inside face of the shell before it is attached to your tooth. Your orthodontist may concentrate a high-intensity light on the cement to harden it and strengthen its bonding with the tooth.
Get your veneer treatment
Fix your smile today by receiving veneers from your local dentist in Pasadena. Fair Oaks Dental is a dental care center in Pasadena that offers veneers and several other corrective dental treatments. We invite you to call us today at (626) 431-2654 for inquiries about our services.

Comments closed
No comments. Leave first!